The RayNeo Air 3s Pro is a next-generation pair of augmented reality (AR) glasses designed to deliver an immersive, private, and portable display experience. Whether you want to watch movies, play games, or extend your workspace, proper setup is essential to get the best performance. This detailed guide walks you through the complete setup process step by step, from unboxing to advanced usage tips, so you can confidently start using your RayNeo Air 3s Pro.
Understanding the RayNeo Air 3s Pro Before Setup
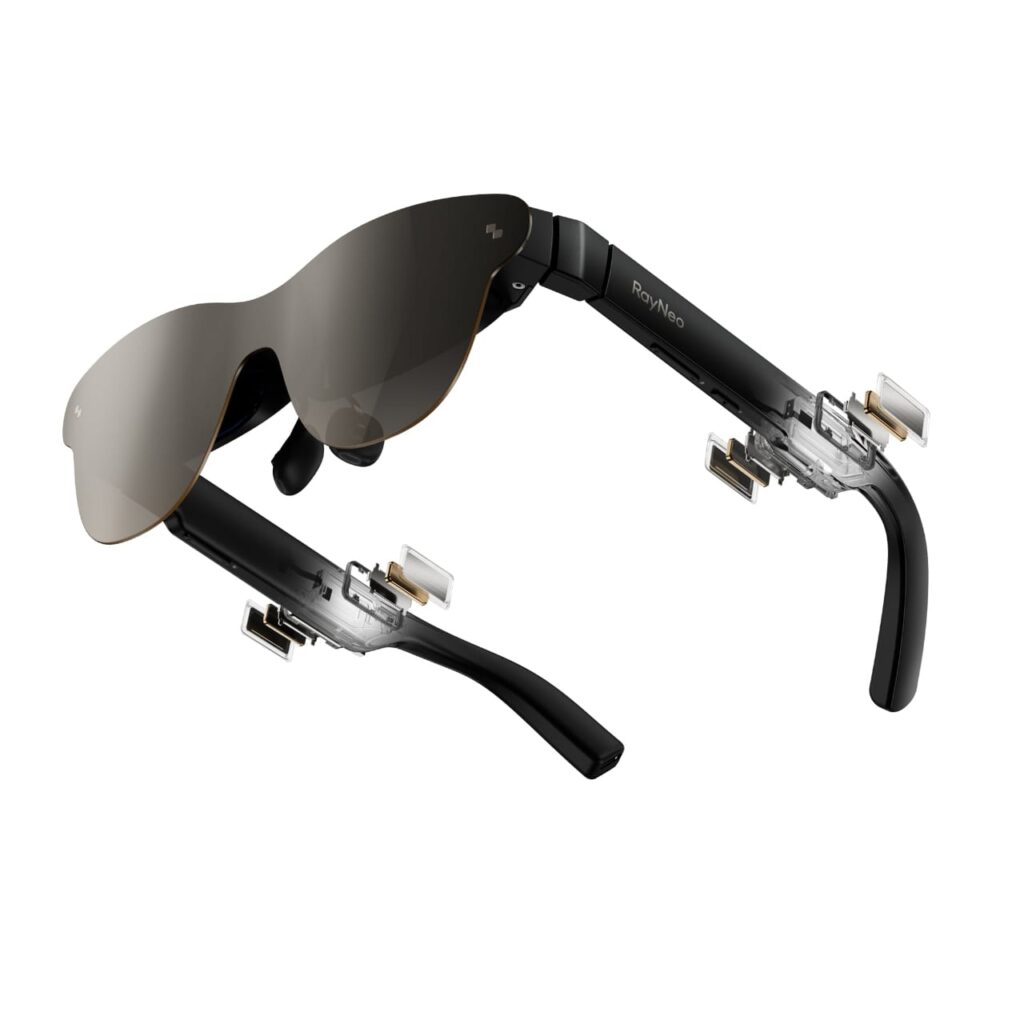
Before jumping into the setup, it’s important to understand what the RayNeo Air 3s Pro actually does. These AR glasses project a virtual large screen in front of your eyes, simulating a cinema-style display while remaining lightweight and portable. They rely on a wired USB-C connection for power and video input, meaning no internal battery charging is required.
The glasses are compatible with smartphones, laptops, tablets, and gaming consoles that support video output via USB-C or HDMI (with an adapter). Knowing this helps you choose the right device before starting.
What Comes in the Box
When you open the box, you should find the following items neatly packed inside:
- RayNeo Air 3s Pro AR glasses
- USB-C cable
- Nose pads in multiple sizes
- Cleaning cloth
- Carrying case
- User manual and warranty information
Take a moment to inspect each item. If anything is missing or damaged, resolve it before continuing with the setup.
Initial Physical Setup
Adjusting the Nose Pads
Comfort is critical for extended use. The RayNeo Air 3s Pro includes multiple nose pads to accommodate different face shapes.
- Gently remove the pre-installed nose pad.
- Try the alternative sizes until the glasses sit evenly on your nose.
- Ensure the display aligns naturally with your eyes without tilting.
A proper fit reduces eye strain and improves image clarity.
Wearing the Glasses Correctly
Place the glasses on your face as you would regular eyewear. The arms should rest comfortably over your ears, and the front frame should not press heavily against your nose. Make small adjustments until the display appears centered and stable.
Connecting RayNeo Air 3s Pro to Your Device
Connecting to a Smartphone
Most modern Android phones support USB-C DisplayPort output, which is required for the RayNeo Air 3s Pro.
- Plug one end of the USB-C cable into the glasses.
- Connect the other end to your smartphone.
- Unlock your phone and allow any on-screen permissions.
Once connected, the display should automatically appear in the glasses.
Connecting to a Laptop or PC
For laptops with USB-C video output:
- Connect the RayNeo Air 3s Pro directly via the USB-C cable.
- The system should detect the glasses as an external display.
If your laptop only has HDMI, use a compatible HDMI-to-USB-C adapter that supports video and power delivery.
Connecting to Gaming Consoles
To use the RayNeo Air 3s Pro with consoles like PlayStation or Xbox:
- Use an HDMI-to-USB-C adapter.
- Connect the console’s HDMI output to the adapter.
- Plug the USB-C end into the glasses.
This setup turns your console gaming into a portable big-screen experience.
Display and Audio Configuration
Adjusting Display Settings
After connecting, you may want to fine-tune the display for optimal clarity.
- Adjust brightness using the buttons on the glasses.
- Set your device’s resolution to the recommended level for AR glasses.
- Position your head naturally to align the virtual screen properly.
Proper calibration ensures sharp visuals and reduces eye fatigue.
Audio Setup
The RayNeo Air 3s Pro features built-in directional speakers.
- Make sure your device audio output is set to the glasses.
- Adjust volume gradually to a comfortable level.
- For private listening, you can also connect Bluetooth earphones to your device.
Using RayNeo Air 3s Pro Step by Step
Watching Movies and Streaming Content
Once connected, using the RayNeo Air 3s Pro is as simple as using your device normally.
- Open your favorite streaming app.
- Play a video in full-screen mode.
- Enjoy a cinema-like display anywhere.
This is one of the most popular use cases for the RayNeo Air 3s Pro.
Gaming with RayNeo Air 3s Pro
For gaming:
- Launch your game on the connected device.
- Adjust brightness and volume before starting.
- Use a controller for the best experience.
The virtual large screen adds immersion, especially for racing and action games.
Productivity and Work Use
The RayNeo Air 3s Pro can also function as a portable monitor.
- Extend or mirror your display from your laptop.
- Use it for presentations, document editing, or multitasking.
- Maintain good posture to avoid neck strain during long sessions.
Advanced Tips for Better Experience
Optimizing Comfort for Long Sessions
- Take breaks every 30–60 minutes.
- Adjust brightness to match ambient lighting.
- Ensure the glasses sit evenly on your face.
Managing Heat and Power
Because the RayNeo Air 3s Pro draws power from your device:
- Monitor your phone or laptop battery level.
- Use a powered adapter when possible.
- Avoid blocking ventilation areas on adapters.
Troubleshooting Common Issues
No Display Appearing
- Confirm your device supports video output via USB-C.
- Try reconnecting the cable.
- Restart the connected device.
Blurry or Misaligned Image
- Re-adjust the nose pads.
- Check that the glasses are level on your face.
- Clean the lenses with the provided cloth.
Audio Not Working
- Verify audio output settings on your device.
- Increase volume gradually.
- Test with another media app.
Final Thoughts
Setting up the RayNeo Air 3s Pro is straightforward once you understand the process. From adjusting the fit to connecting compatible devices and optimizing display settings, each step plays a role in delivering a smooth AR experience. Whether you use it for entertainment, gaming, or productivity, following this step-by-step setup guide ensures you get the most value and comfort out of your RayNeo Air 3s Pro.
Check out the RayNeo Air 3s Pro AR Glasses here. Enjoy Extra 8% Off Sitewide With Exclusive Coupon Code: WEAR8